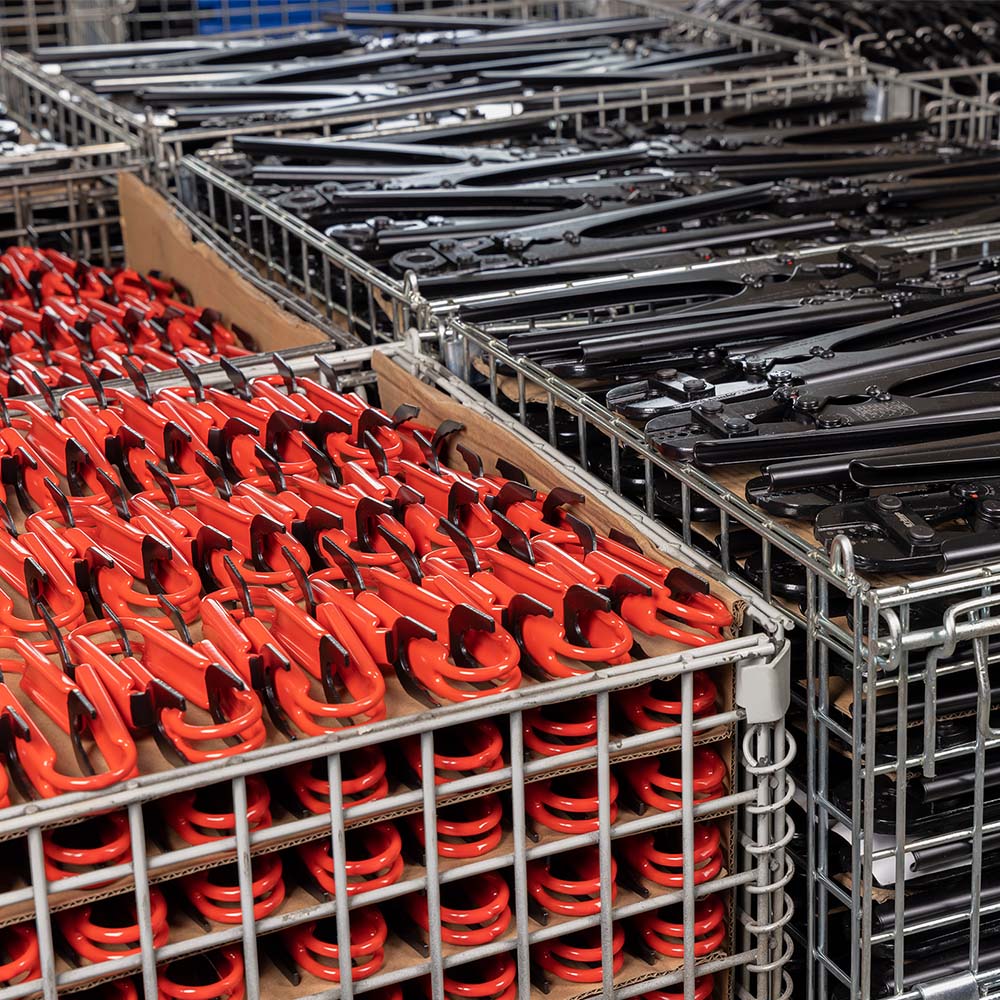
quality Control
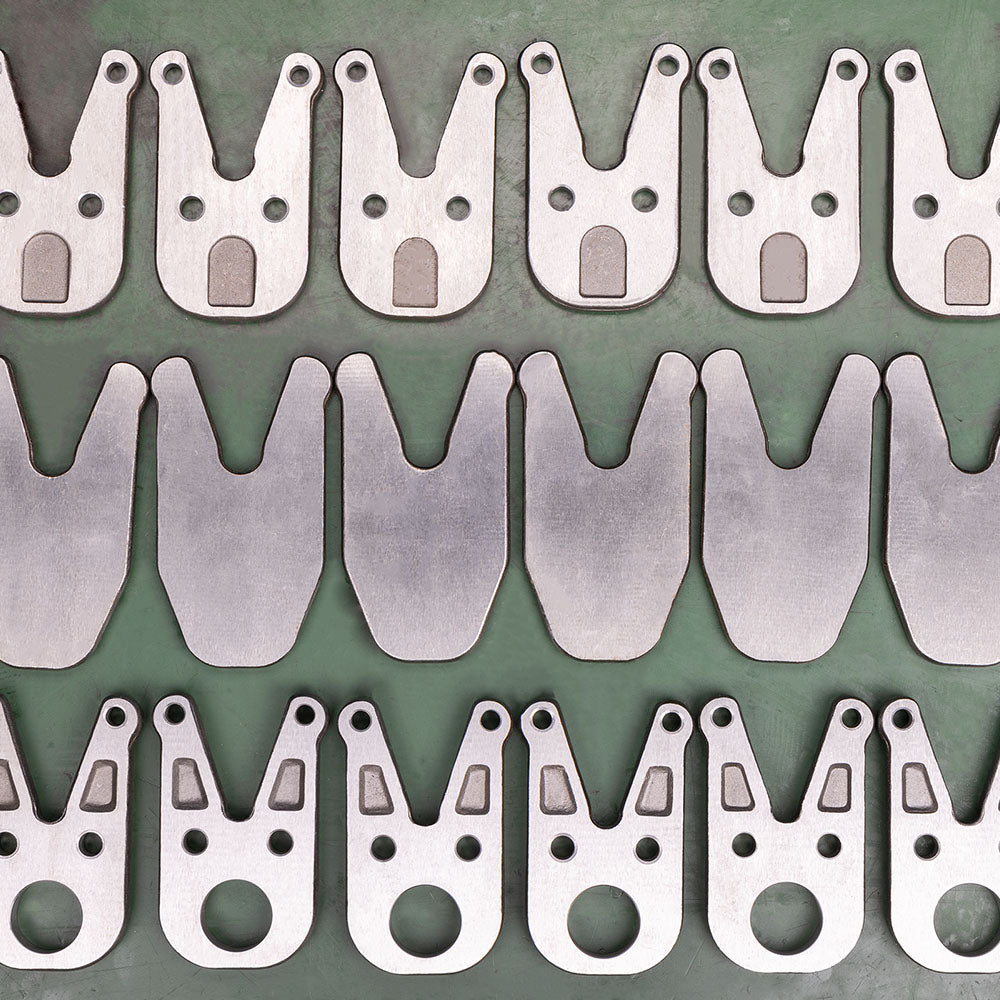
100% inspection rate thoughtout production and pre-shipment.


100% inspection rate thoughtout production and pre-shipment.
Competitive advantage with discounted price and quantity discount on every order.
Act fast on OEM & ODM, friendly with brand owners, distributors and manufacturers.
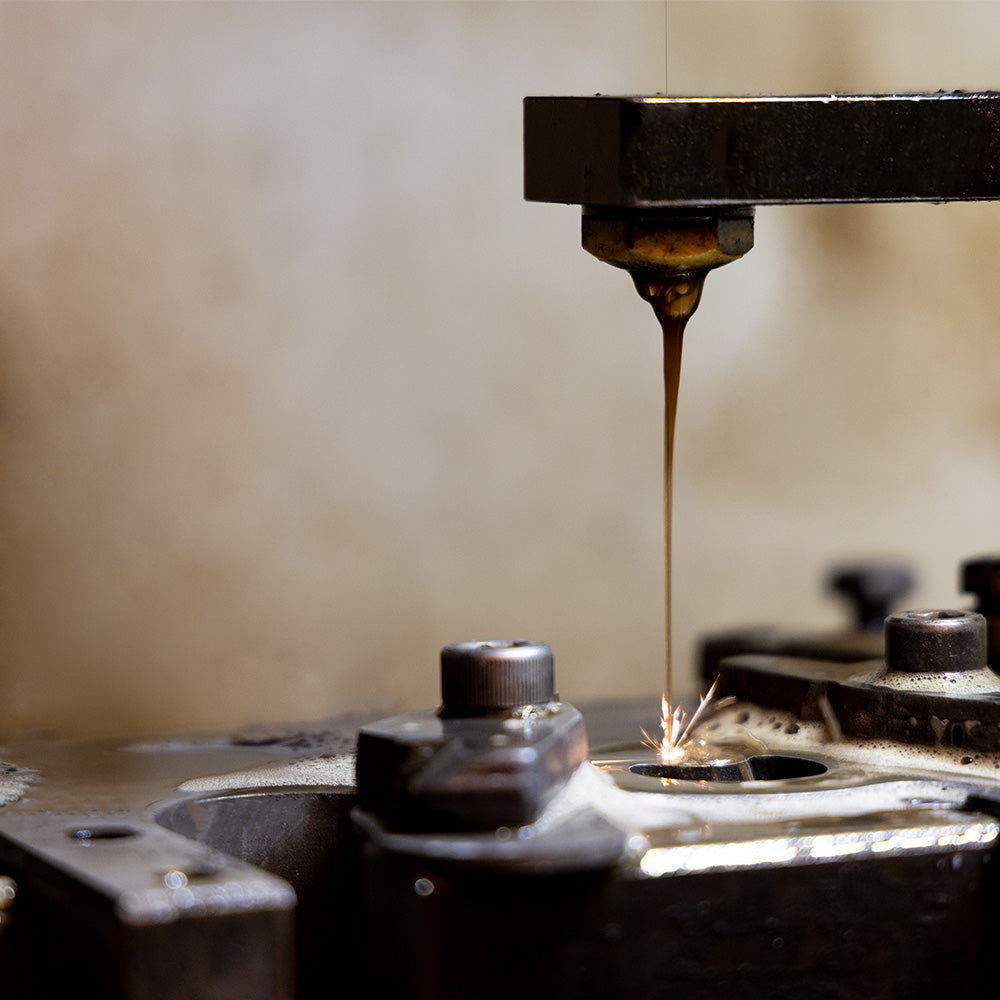
Digital precision production, complying with various international standards.
Brand: IWISS Color: Blue, Black Item Weight: 1.5 Kilograms Item Dimensions: LxWxH 14.96 x 5.91 x 1.57 inches Handle Material: Polyvinyl Chloride (...
View full detailsBrand: IWISSColor: Blue, OrangeItem Weight: 0.95 PoundsItem Dimensions LxWxH: 4.72 x 3.15 x 0.39 inchesHandle Material: Thermoplastic Rubber Harde...
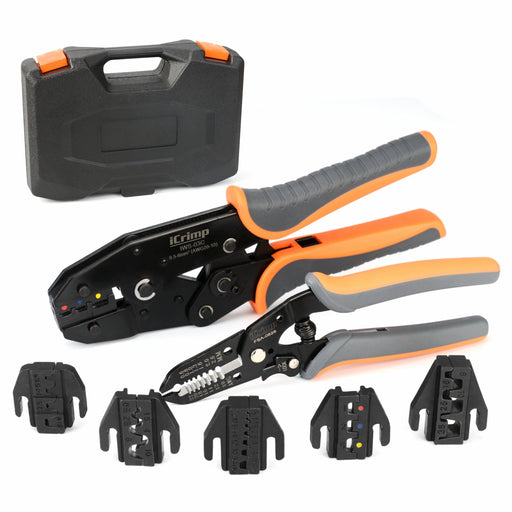
View full detailsBrand: IWISS Color: Orange, Grey Grip Type: Ergonomic 4 way Indents,8 impressions ratchet crimper For use with 14,16&18 gage (Contact Size 16)...
View full detailsBrand: IWISSColor: Orange,greyItem Weight: 300 GramsHandle Material: RubberGrip Type: Ergonomic 「RANGE」Wire crimping range: AWG 24-14(0.2-2.0mm2);...
View full detailsBrand: IWISS Color: Orange, Grey Handle Material: Thermoplastic Elastomer (TPE) Grip Type: Ergonomic 「8 PCS CRIMPING TOOL SET」Includes 1 ratcheti...
View full detailsBrand: ICRIMPColor: Black, CopperItem Weight: 8.38 PoundsHandle Material: PipeGrip Type: Ergonomic Secure crimping in seconds; Automatic locking o...
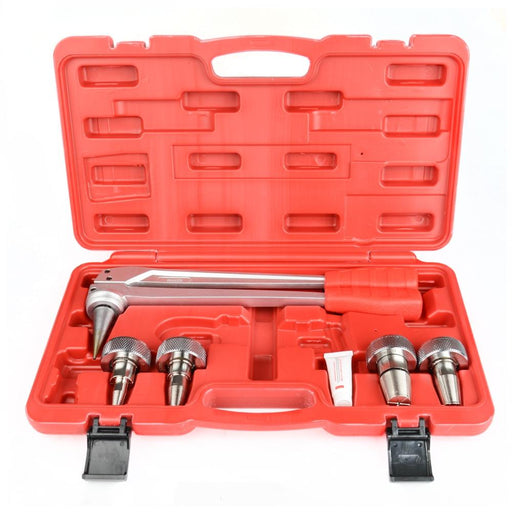
View full detailsASTM F1960 Expsnion Heads Set Includes: 1/2", 3/4", 1" three expansion heads, and one grease
Brand: IWISSColor: Red, BlueItem Weight: 5.71 PoundsItem Dimensions LxWxH: 6.69 x 1.97 x 1.57 inchesGrip Type: Ergonomic Capability: IWS-FA PEX Cr...
View full detailsIWISS PEX Pipes Tube Expander With 16/20/25/32mm Expansion Head Suits Uponor For Water And Radiator Connection The IWS-PE1632 Europe standard Pex ...
View full detailsBrand: IWISSColor: OrangeHandle Material: PipingGrip Type: Ergonomic Meet ATSM F1807 Help you reach into tight connection and make the pipe instal...
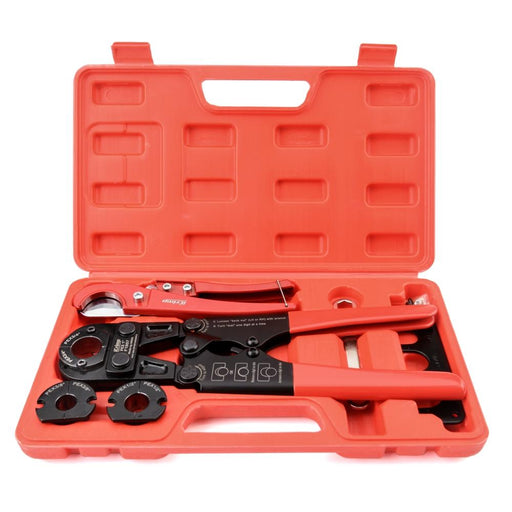
View full detailsBrand: iCRIMPColor: BlueHandle Material: Stainless SteelGrip Type: Ergonomic 「Universal」This cinch tool meets ASTM 2098 standard works with stainl...
View full detailsBrand: IWISSColour: BlueItem dimensions L x W x H: 50.5 x 13 x 3 centimetresHandle material: Rubber Interchangeable jaws C/W V15, V18, V22 and V28...
View full detailsBrand: IWISSItem Weight: 3.96 PoundsColor: orange, black, whiteGrip Type: Ergonomic All-in-One PEX Piping Tool Kit: IWS-1234C PEX plumbing kit i...
View full detailsBrand: IWISSColor: OrangeItem Weight: 0.01 OuncesHandle Material: Hardened SteelGrip Type: Ergonomic Multi-Head PEX Crimper: IWS-FAS copper ring c...
View full details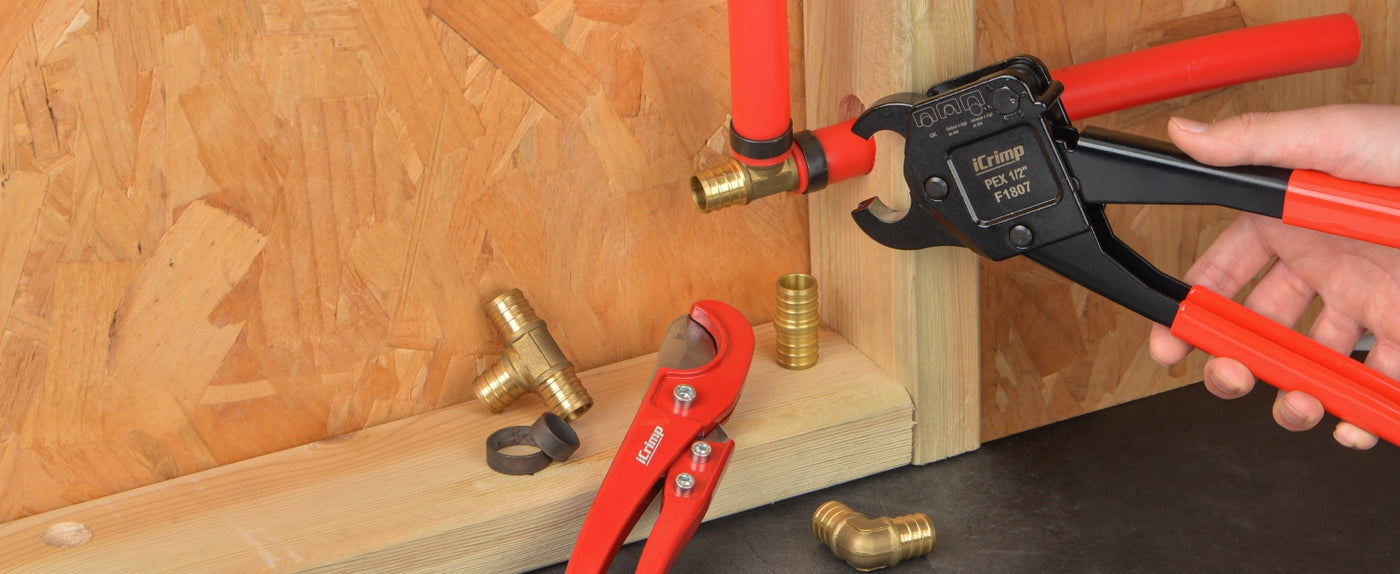
{"one"=>"Select 2 or 3 items to compare", "other"=>"{{ count }} of 3 items selected"}